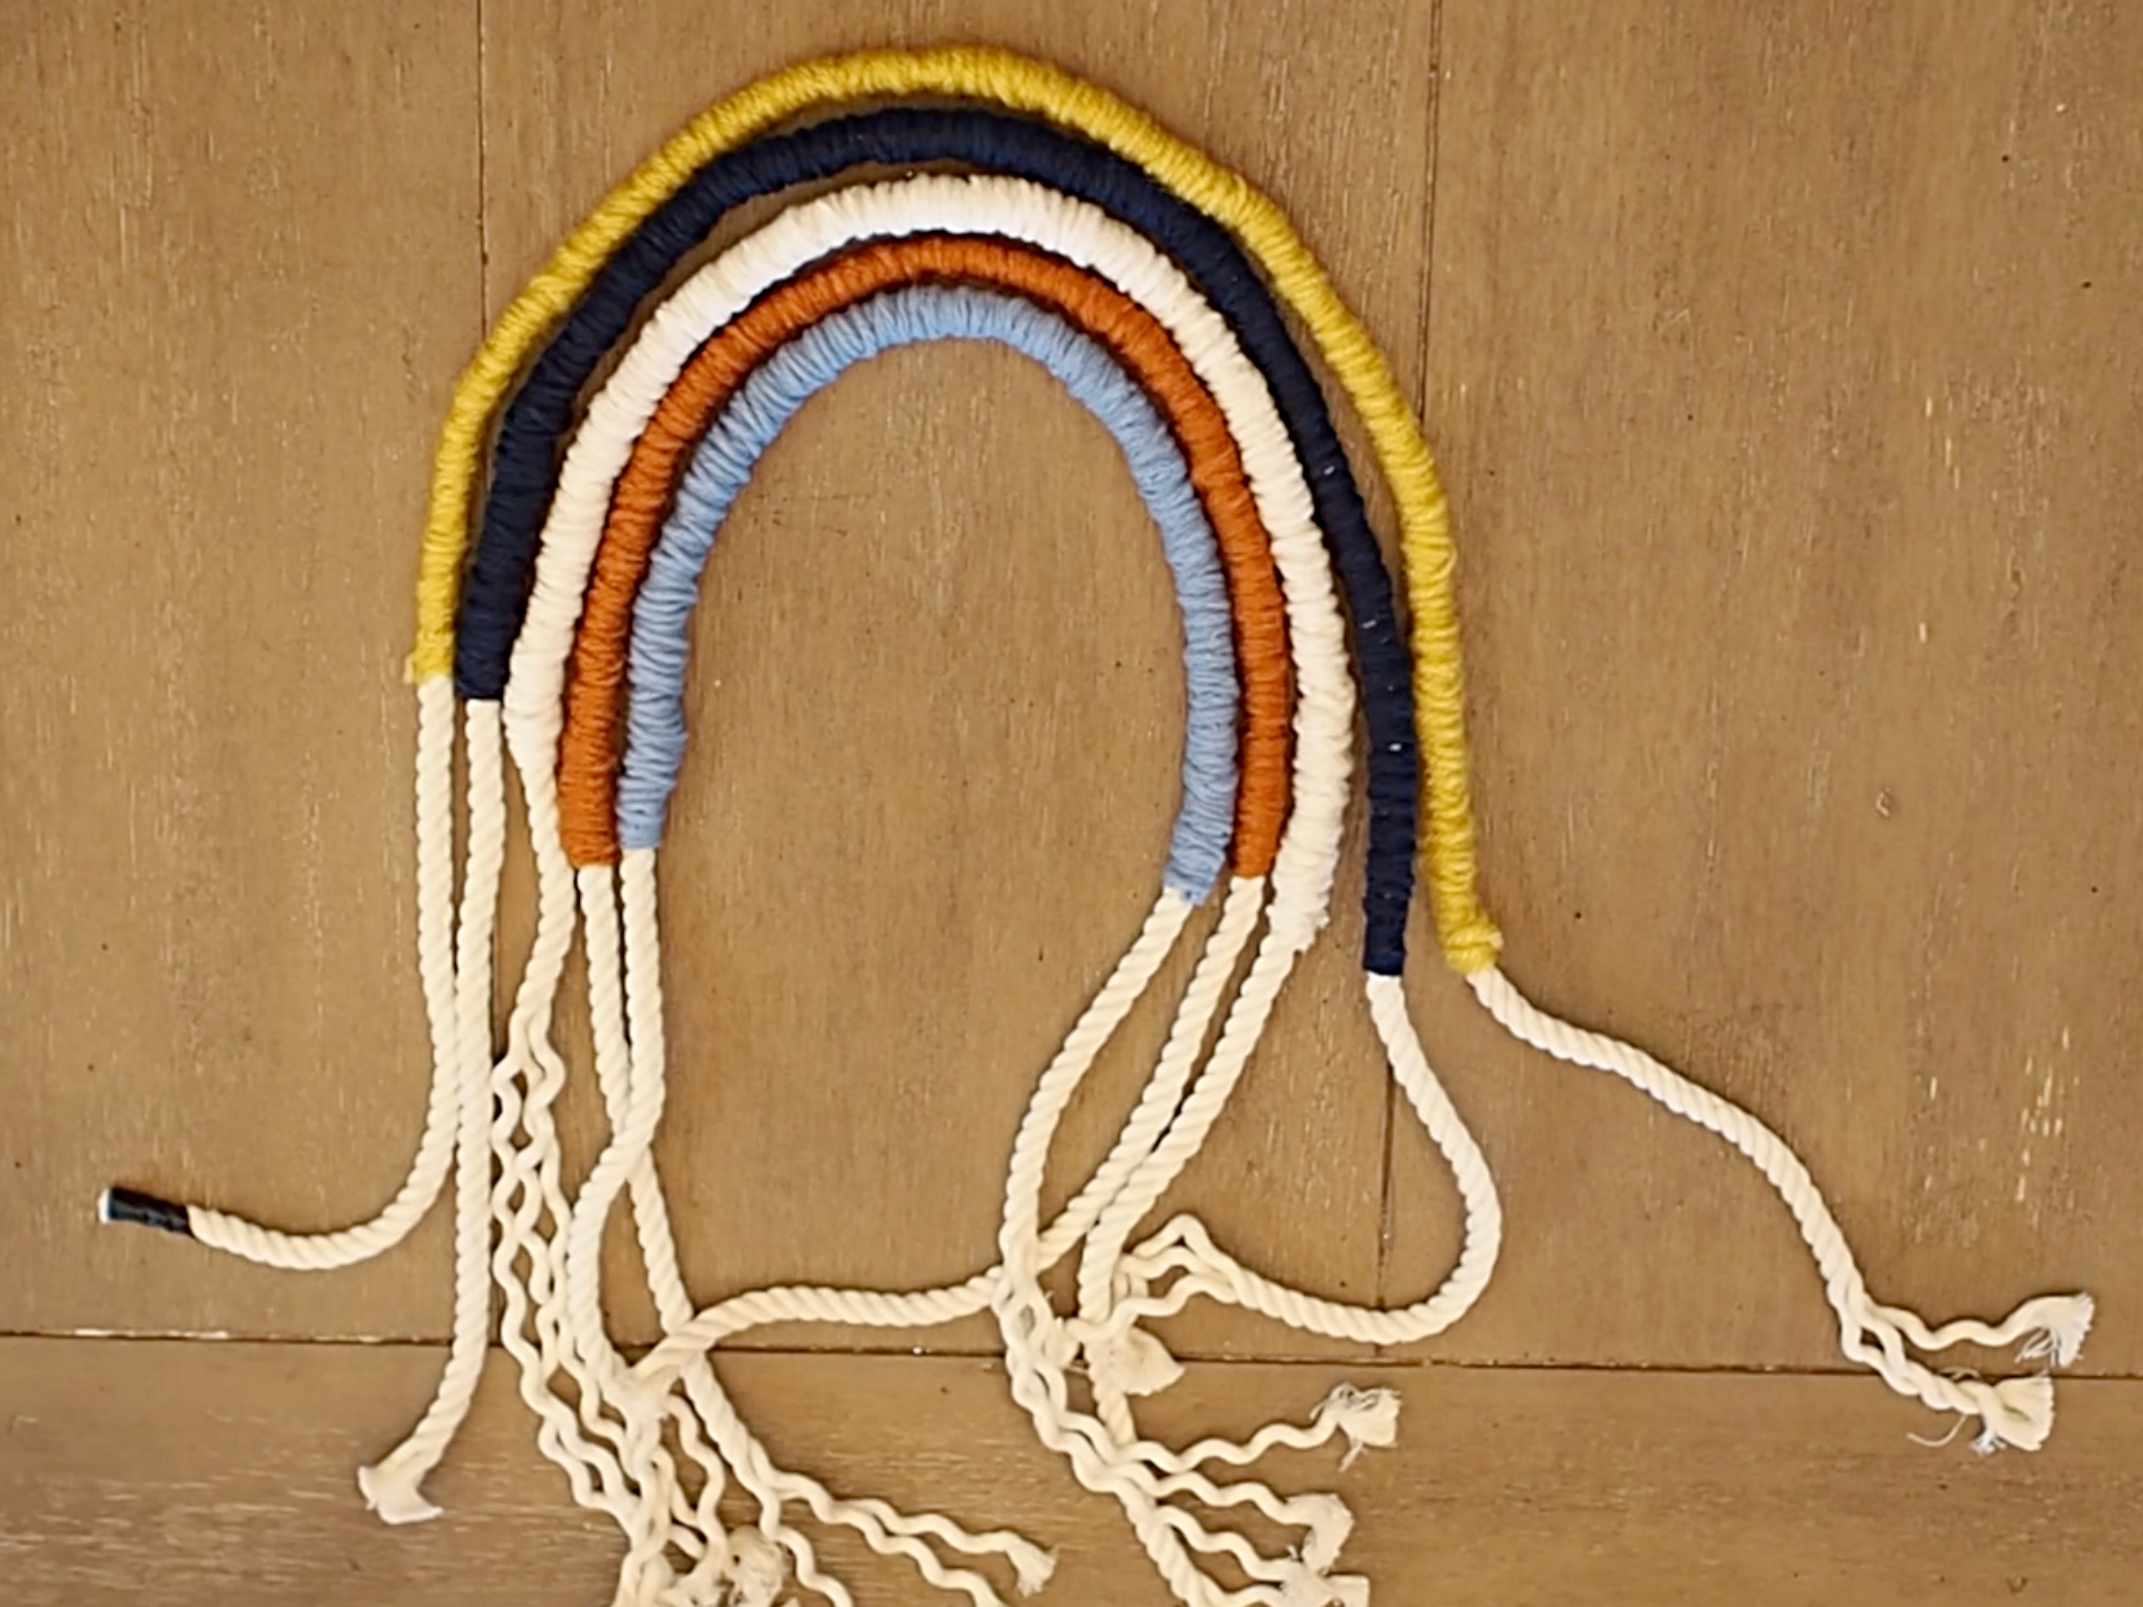
DIY Rope Rainbow
The seventies have really snuck up on us with this rainbow trend I’ve been seeing all over the internet, Pinterest, and even at Target. I don’t know about you, but I love it. Especially for my little boy’s nursery I’ve been busy working on. I saw some cute fiber rainbows for sale on Etsy, but I decided I had time to make one for myself, so I’d like to share my process with you all.
Materials
A minimum of 6mm Macrame cording/rope
Some type of wire. I used copper 2 mm wire because it was nice and sturdy, but still easy to work with
Yarn in various colors. I purchased 5 small spools from Michael’s in various colors
Scissors
(Optional) Comb to brush your fringe
Steps
Cut your cord to an appropriate length to shape the largest part of your rainbow
Wrap a length of wire around your cord leaving out a few inches on either end for the fringe
Wrap your first length of yarn around your rope, covering the wire completely and leaving a few inches out on either end.
Shape your rope into an arch or rainbow shape.
Repeat steps 1-3 four times, fitting each length of rope inside the last one.
Sew all 5 length of rope together.
Tie an overhand knot on each end.
Trim your ends to ensure they’re nice and even.
Brush out your fringe.
Hang it somewhere pretty!
For a full, in depth video tutorial on this project, check out mine below.
x Megan


